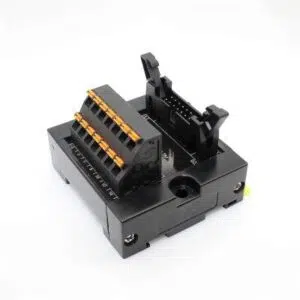
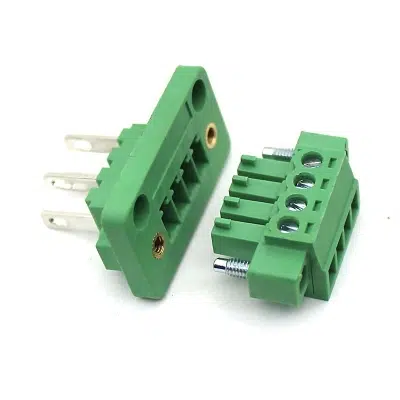
Pluggable terminal block panel mount offers a reliable and efficient solution for secure electrical connections, combining versatility with user-friendly design. Their modular structure allows for effortless wiring, maintenance, and reconfiguration, making them ideal forindustrial, automation, and control applications.
This guide is designed to walk you through the installation process step by step, ensuring a smooth and hassle-free setup. Whether you’re a seasoned technician or a first-time user, our instructions will help you properly mount and connect your terminal block panel with confidence. Let’s get started!
Part 1 Getting Started: Essential Tools and Safety Tips for Installing Pluggable Terminal Blocks
Installing a pluggable panel mount terminal block is a straightforward process, but proper preparation ensures a safe and efficient setup. Before diving into the installation, gather the necessary tools and materials and review essential safety precautions to avoid hazards.
1. Tools & Materials Needed
- A screwdriver(typically flathead or Phillips, depending on terminal type)
- Wire strippersfor preparing conductors
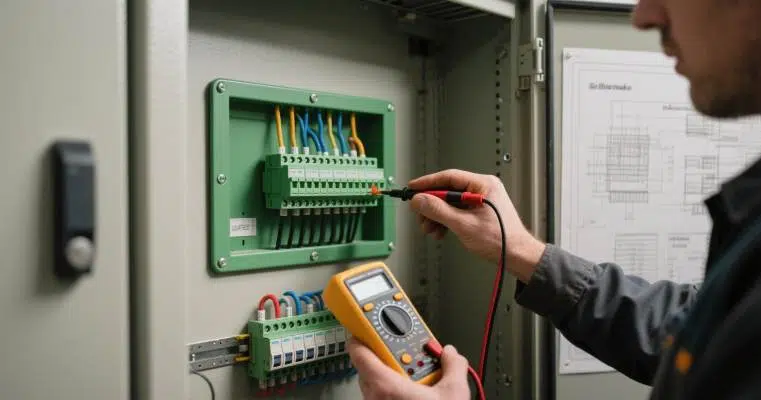
- Multimeter(optional, for verifying connections)
- Mounting screws or clips(if not included with the terminal block)
- Properly sized wires(check manufacturer specifications for gauge and type)
- Labeling tools(optional, for organizing connections)
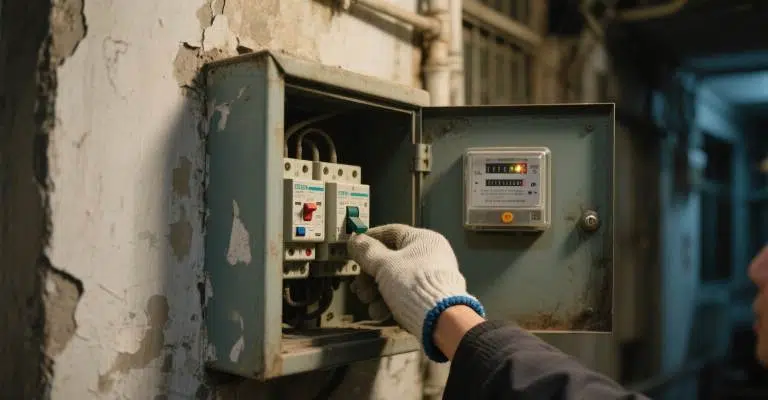
2. Safety Precautions
Working with electrical components requires caution. Follow these guidelines:
- Disconnect power before installation to prevent electric shock or short circuits.
- Verify that the voltage and current ratingsof the terminal block match your application.
- Ensure wires are securely fastened to avoid loose connections, which can cause overheating.
- Wearinsulated glovesif handling live circuits, and work in a dry environment.
By preparing your tools and adhering to safety measures, you’ll ensure a smooth and risk-free installation process for your pluggable panel mount terminal block. Next, we’ll guide you through the mounting and wiring steps.
Part 2 Step-by-Step Installation Guide for Pluggable Terminal Block Panel Mount
Follow this detailed procedure to ensure proper installation of your pluggable terminal block panel mount:
1. Panel Preparation
- Verify the panel cutout dimensions against the manufacturer’s specifications
- Clean the mounting surface to ensure proper contact and alignment
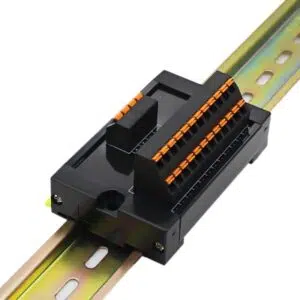
2. Mounting Process
- Align the terminal block housing with the prepared panel cutout
- Secure using the provided mounting hardware (clips or screws)
- Apply even pressure when tightening to avoid distortion (recommended torque: 0.6-0.8 Nm)
3. Wiring Procedure
- Strip wire ends to 7±0.5mm length using appropriate tools
- Insert conductors into designated terminals following the polarity markings
- Tighten terminal screws to specified torque (typically 0.5 Nm)
- For multi-wire connections, ensure all strands are properly captured
- Route wires neatly to avoid strain on connections
4. Final Verification
- Perform pull test (15N force minimum) on each connection
- Visually inspect for proper wire seating and insulation clearance
- Verify audible click when engaging pluggable connector
- Confirm smooth mating/unmating of pluggable components
Safety Reminder: Always de-energize the system before installation and verify all connections before power application.
Part 3 Pro Tips for Efficiency
To maximize the performance and longevity of your pluggable panel mount terminal block, follow these professional installation and maintenance tips:
1. Optimize Wire Preparation
- Consistent Strip Length: Maintain a uniform strip length (typically 6–8mm) to ensure proper terminal contact and avoid loose strands.
- Twist Stranded Wires: Lightly twist stranded conductors before insertion to prevent fraying and ensure a secure fit.
- Use Ferrules (Optional):For fine-stranded wires, crimp ferrules to enhance durability and prevent wire breakage.
2. Streamline Installation
- Pre-Assemble Components: If possible, pre-wire the terminal block before mounting to simplify alignment.
- Label Connections:Use markers or tags to identify wires, speeding up future maintenance or troubleshooting.
- Check Torque Settings:Use a torque screwdriver to avoid under/over-tightening, which can lead to poor conductivity or damage.
3. Ensure Long-Term Reliability
- Periodic Inspections:Check terminal tightness during routine maintenance to prevent loosening from vibration.
- Secure Wire Routing:Use cable ties or clamps to organize wires and reduce strain on connections.
- Test Before Finalizing:Verify continuity with a multimeter before powering up the system.
By following these best practices, you’ll ensure a quick, secure, and efficient installation while minimizing future issues.
Should you require further assistance with your pluggable terminal block panel mount installation, our technical specialists offer personalized consultation to ensure optimal setup.